
Add and sort menu categories
Add menu categories in Tavolify, translate their names, choose the POS tile colour, sort them by dragging and hide them.
1 min readUpdated November 13, 2026
Categories group your items on the POS, the kiosk, the QR menu and the online ordering page.
Steps
Open Menu and choose Categories.
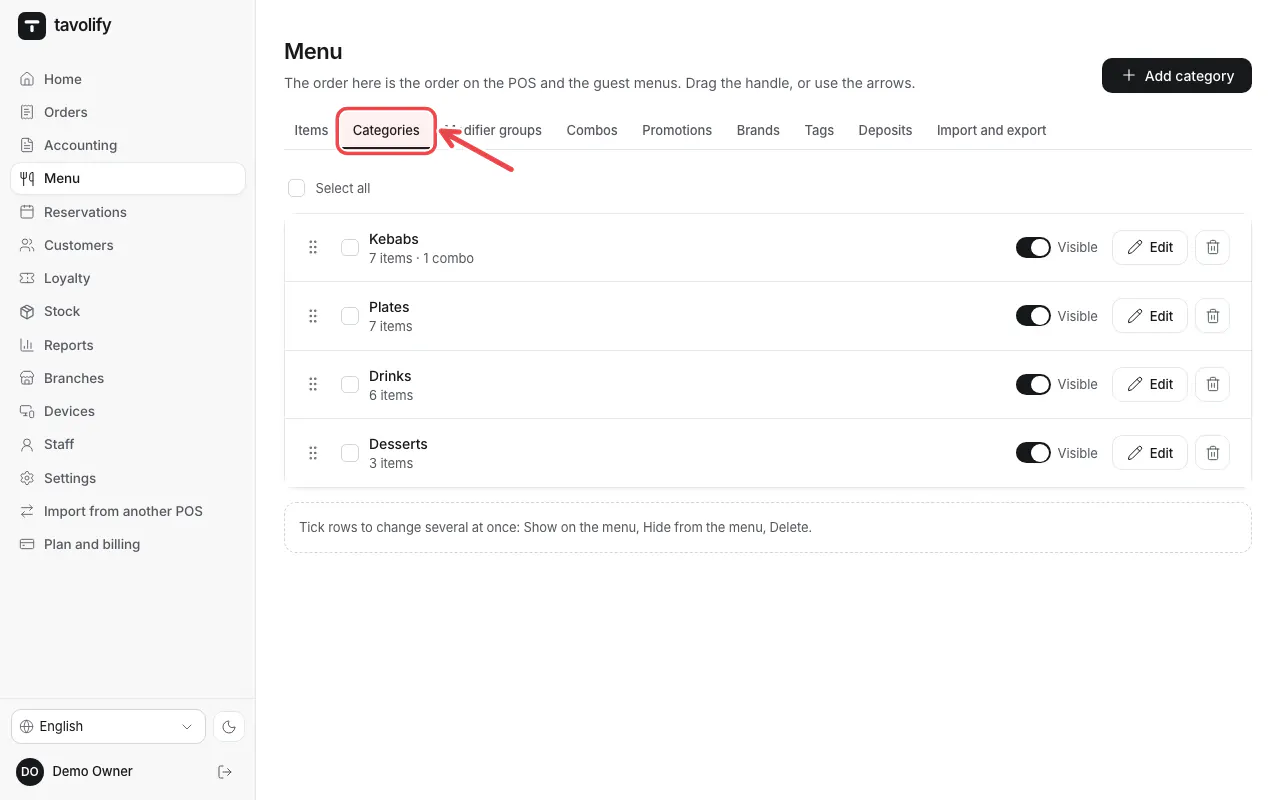
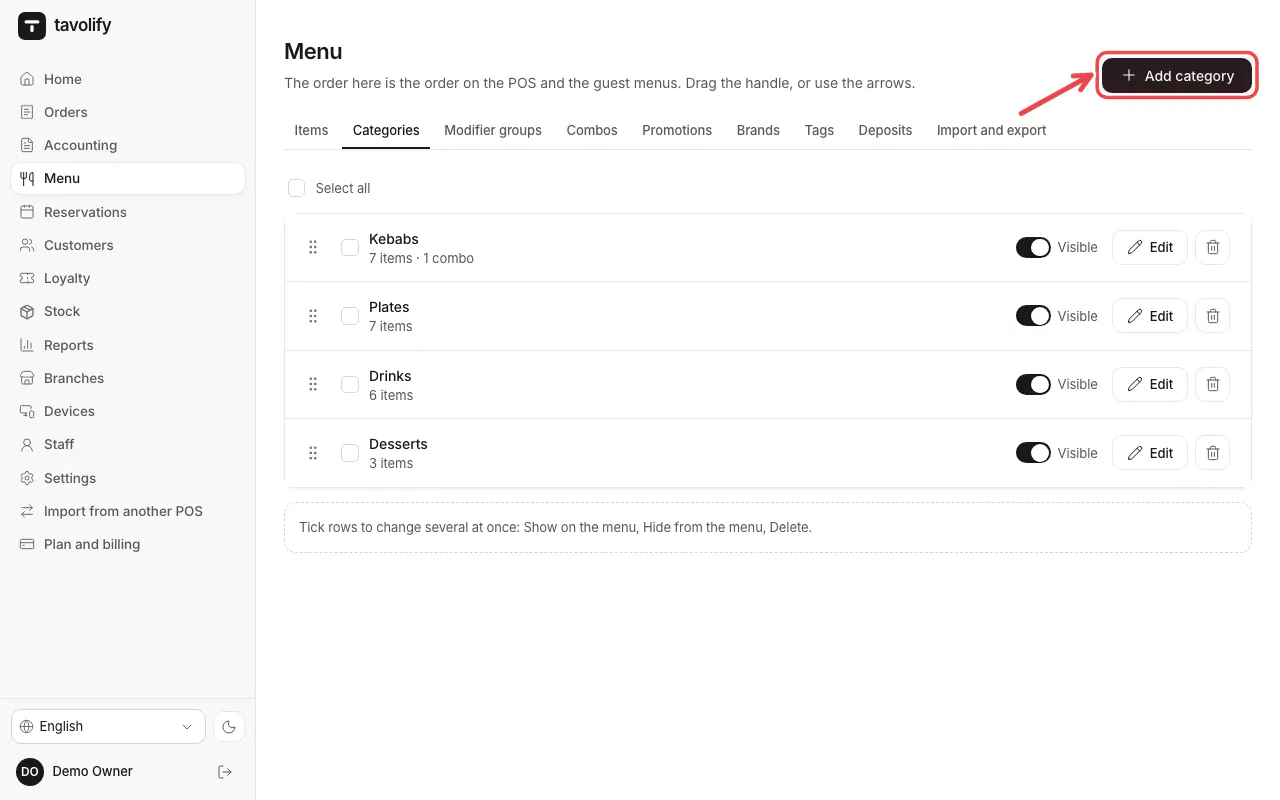
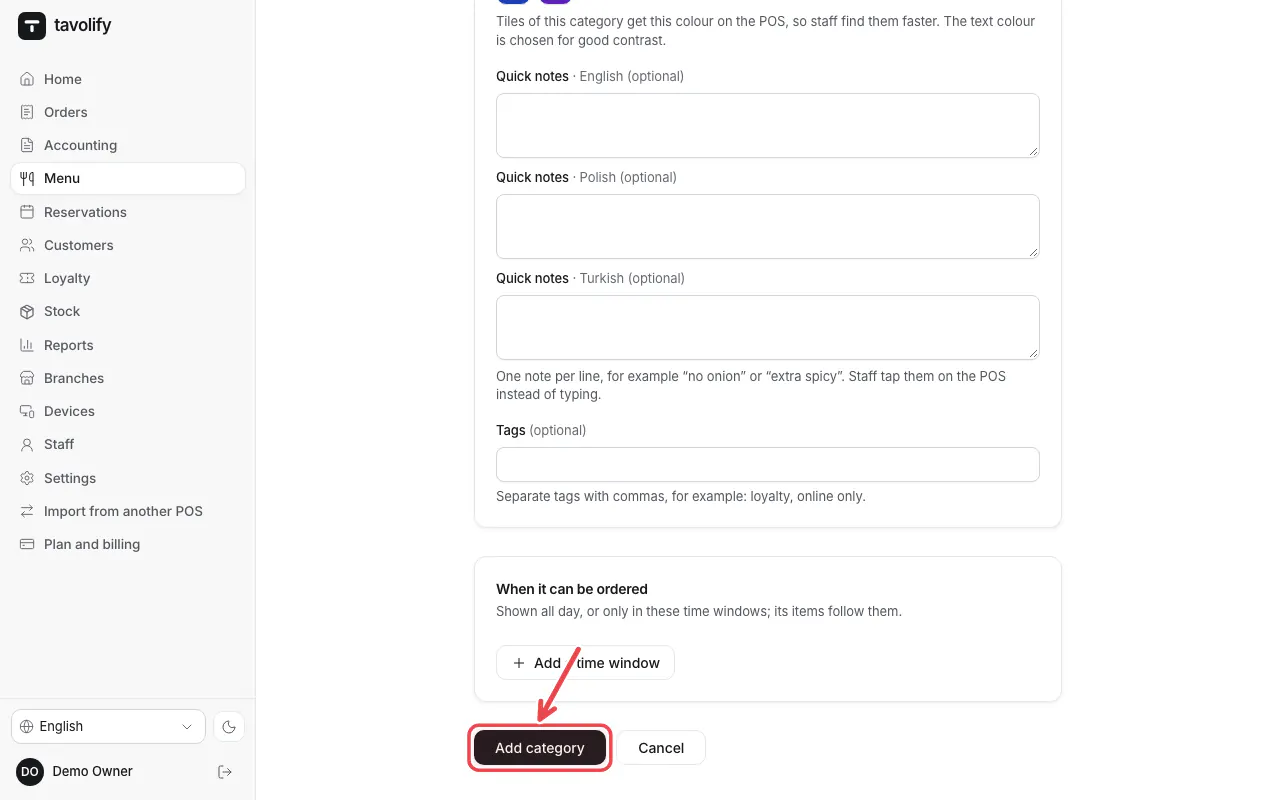
Drag a category by its handle to change the order. The eye icon hides a category. Tap Add category for a new one.
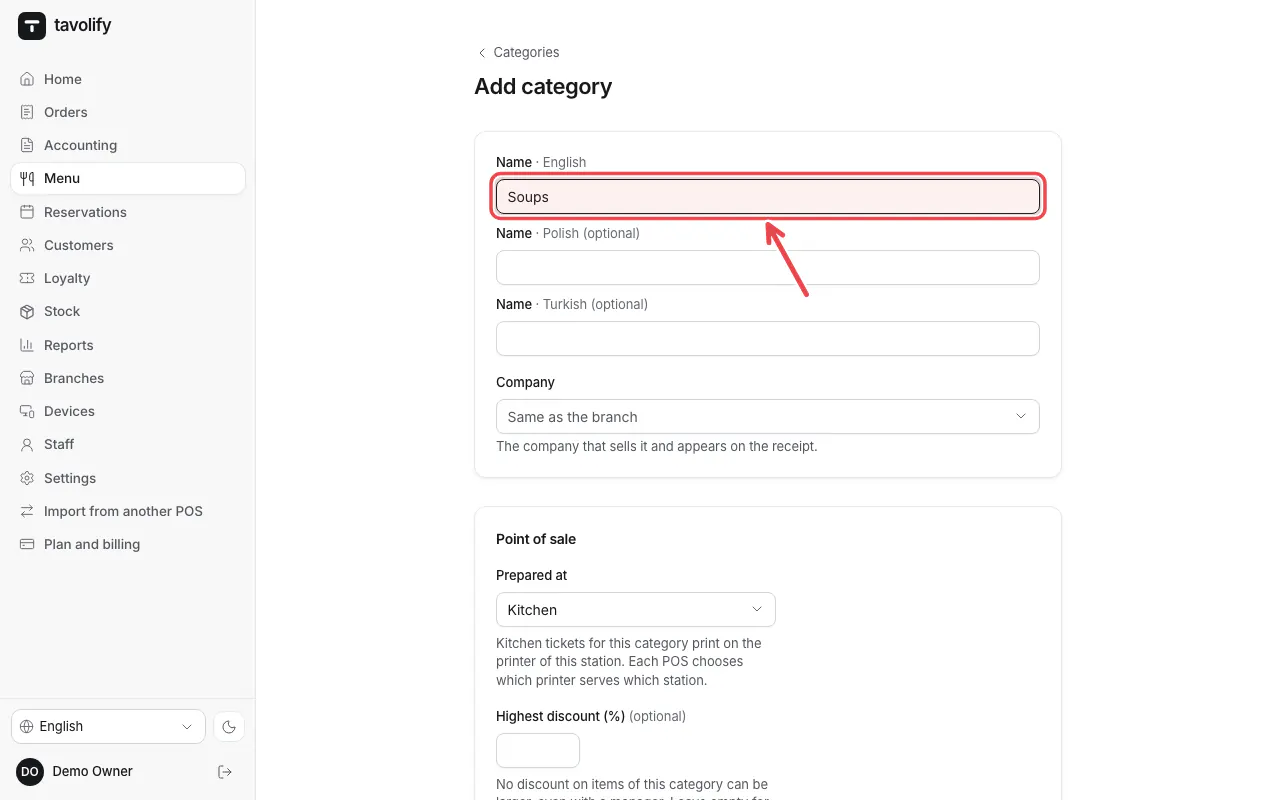
Type the name in each menu language, for example "Soups".
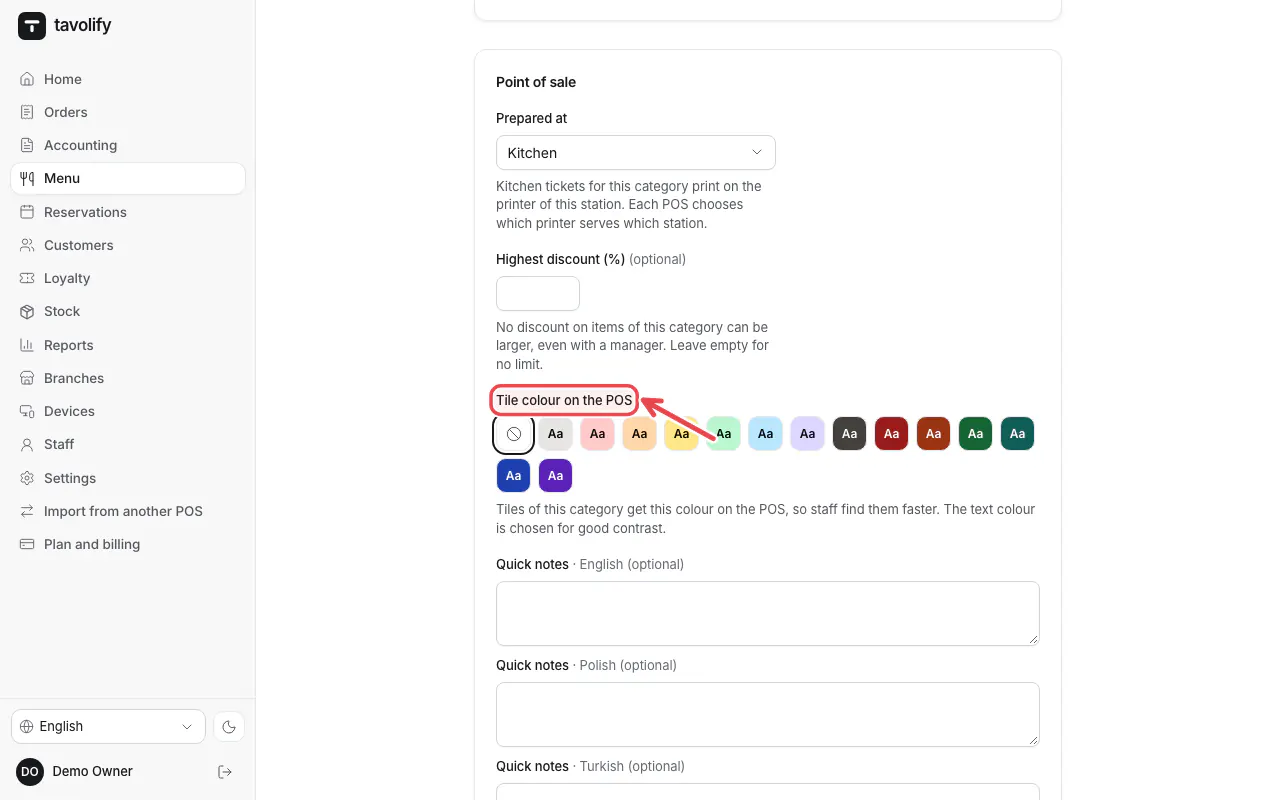
Pick a Tile colour on the POS, so staff find the category quickly.
Tap Add category to save.
Tip: Prepared at tells the till where the category is made, for example the kitchen or the bar.
Related articles
- Add a menu item
- Receipt printer and kitchen tickets
- Several companies (tax numbers) in one restaurant
Did this answer your question?
Still need help?Our team is happy to answer.
Send us a message