
Connect a fiscal printer (Elzab, Posnet, Novitus)
Connect an Elzab, Posnet or Novitus fiscal printer to Tavolify: printer type, VAT letters, test print and the POS printer setting.
1 min readUpdated November 13, 2026
In Poland sales to private customers need a fiscal receipt from an online fiscal printer.
Steps
Open Settings → Fiscal.
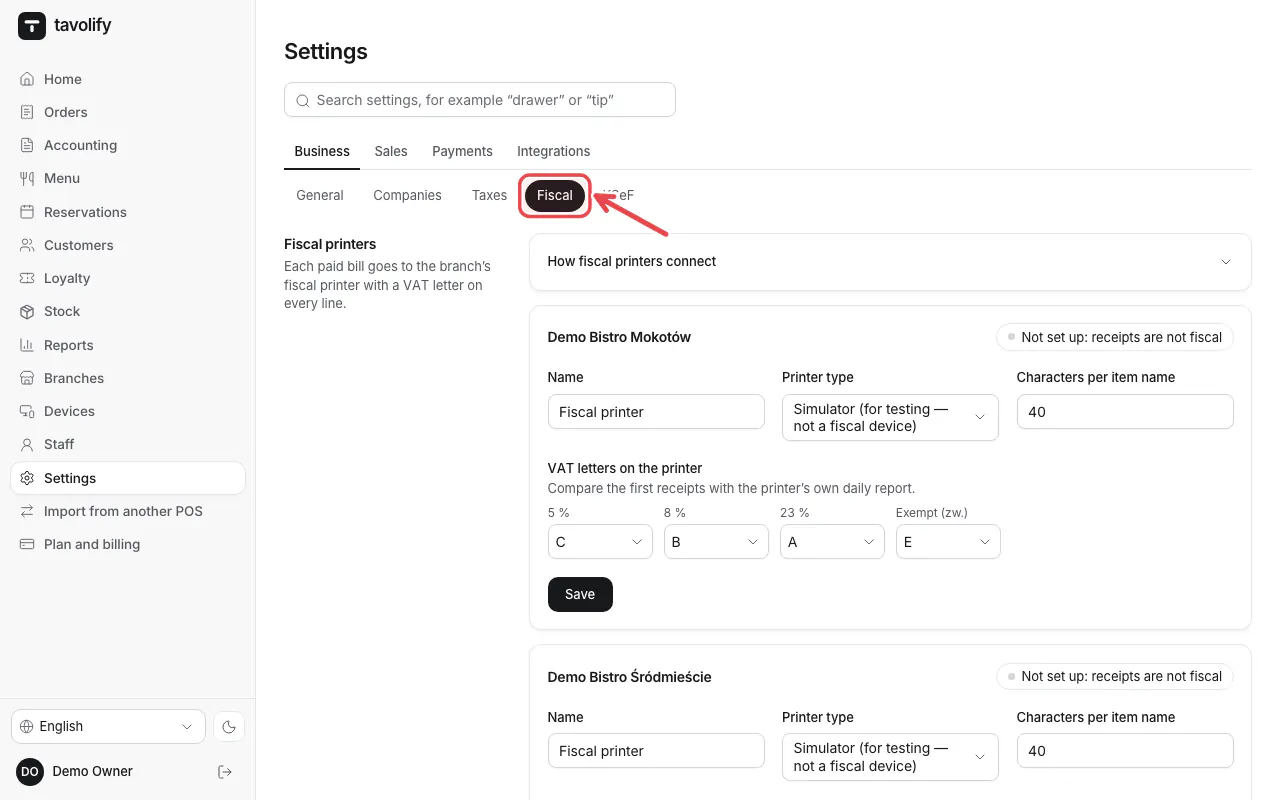
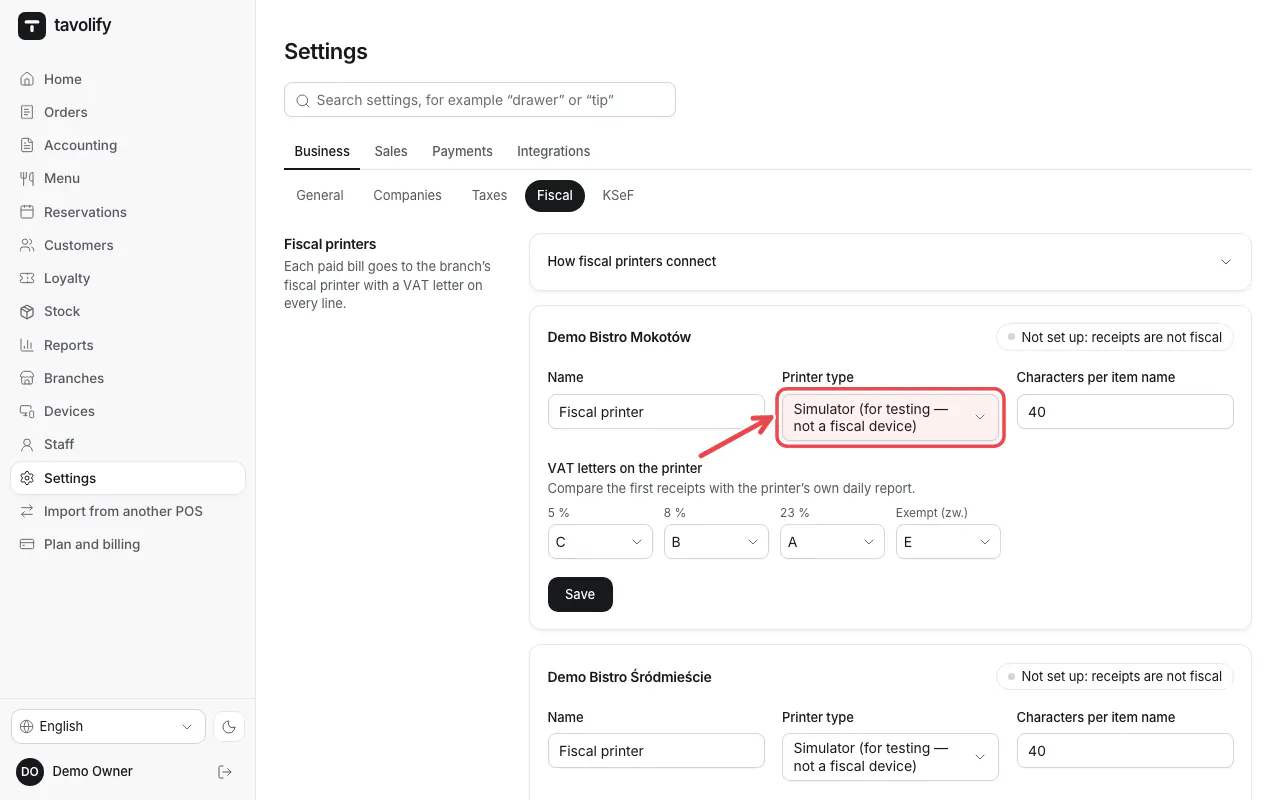
Under Fiscal printers choose the Printer type for each branch.
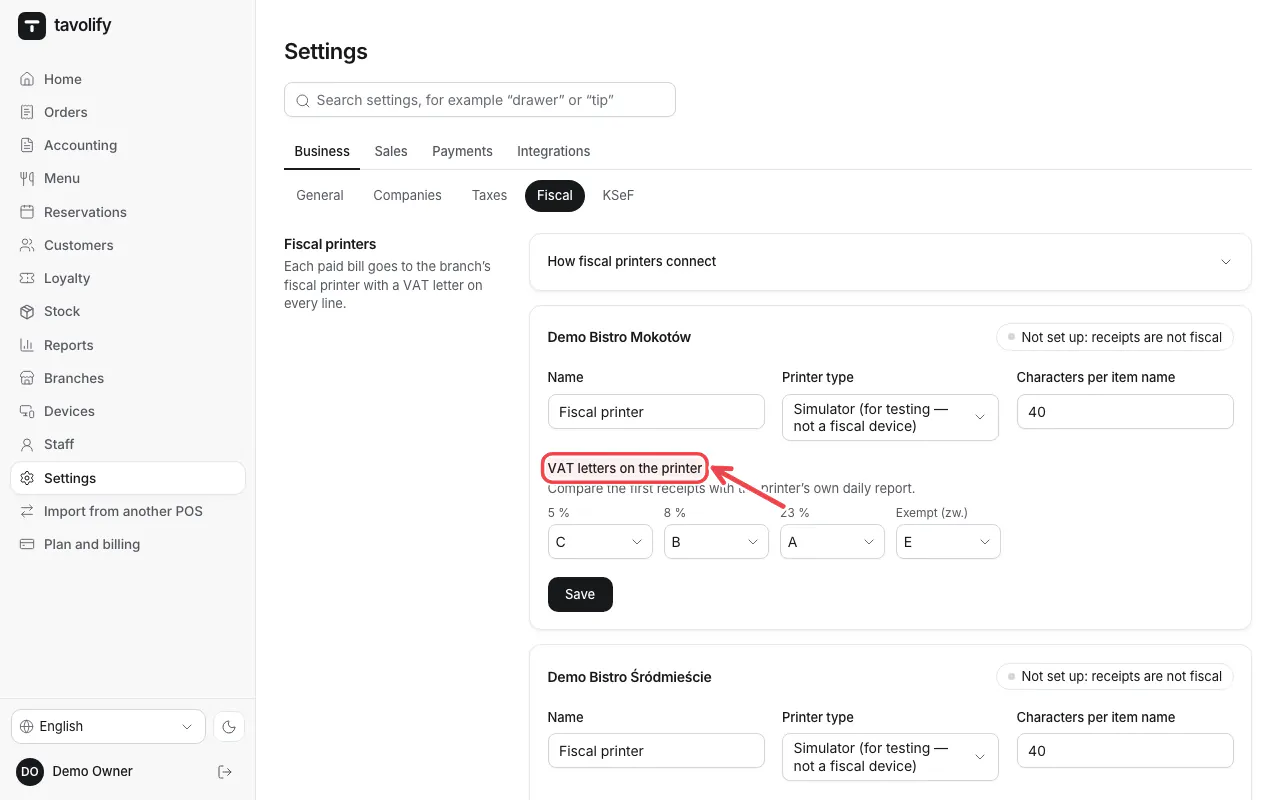
Under VAT letters on the printer give each rate the letter set in your printer. Without a letter the POS cannot print a receipt with that rate.
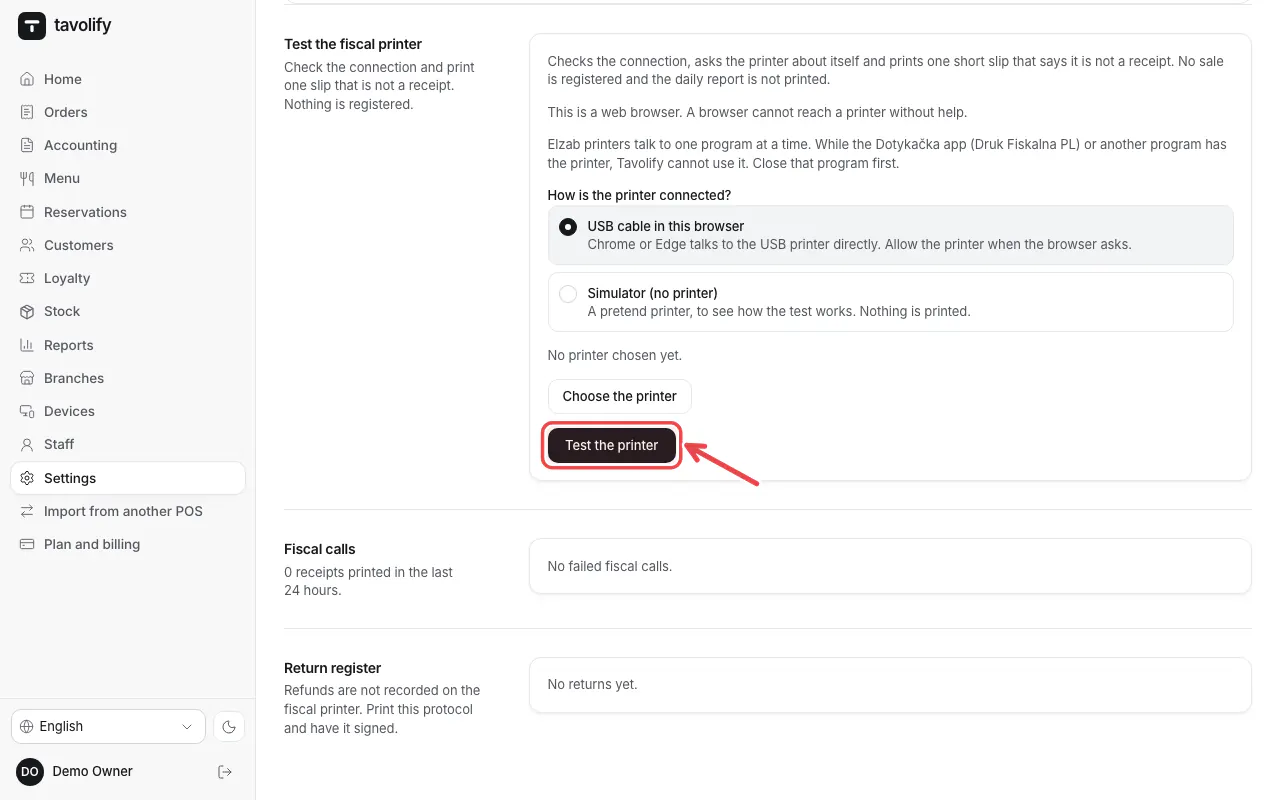
Under Test the fiscal printer choose how it is connected and tap Test the printer. It prints a slip that is not a receipt.
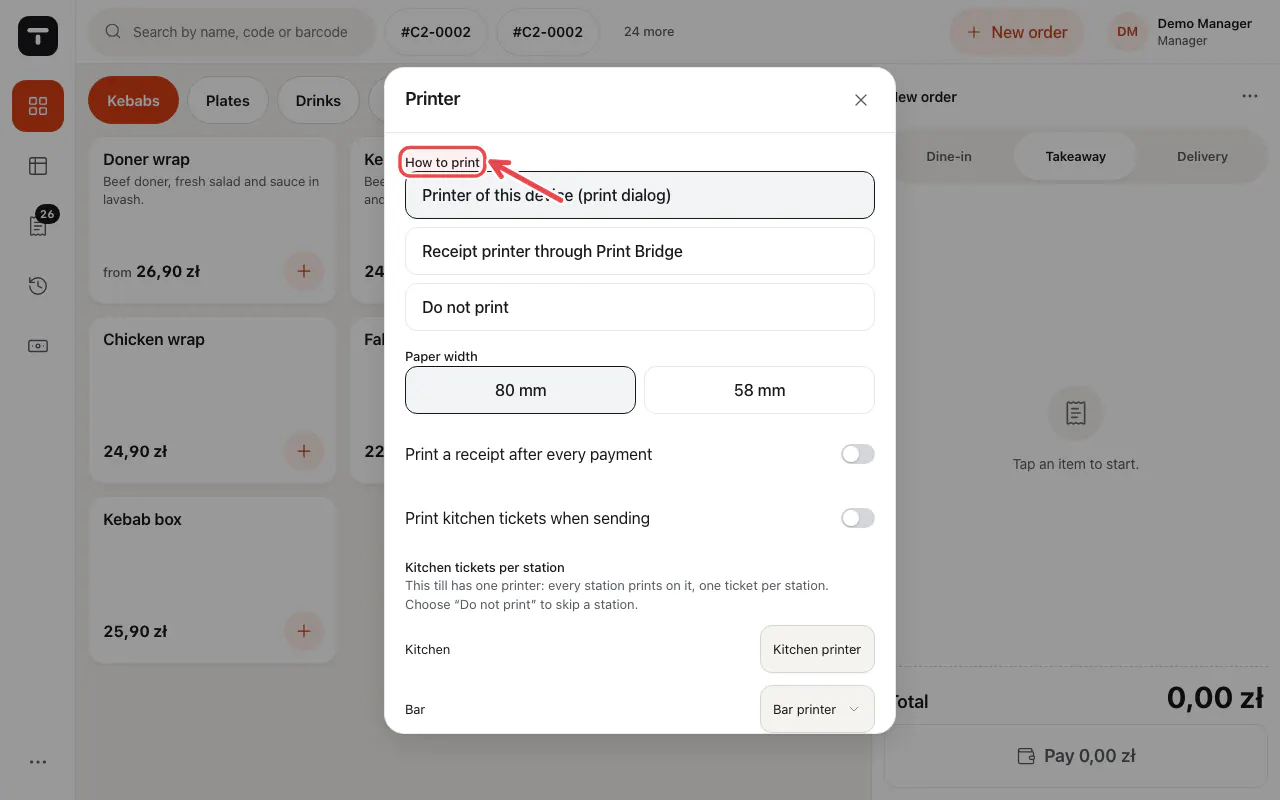
On the POS open ☰ → Printer. When the till has a fiscal printer connection (Android app or Print Bridge), choose The fiscal printer (bills and slips as non-fiscal printouts) under How to print.
Important: Only one program may use the fiscal printer at a time. Close any other till app that talks to it.
Related articles
- Our receipt before the fiscal receipt
- Receipt language
- VAT rates and tax rules
- The printer does not print
Did this answer your question?